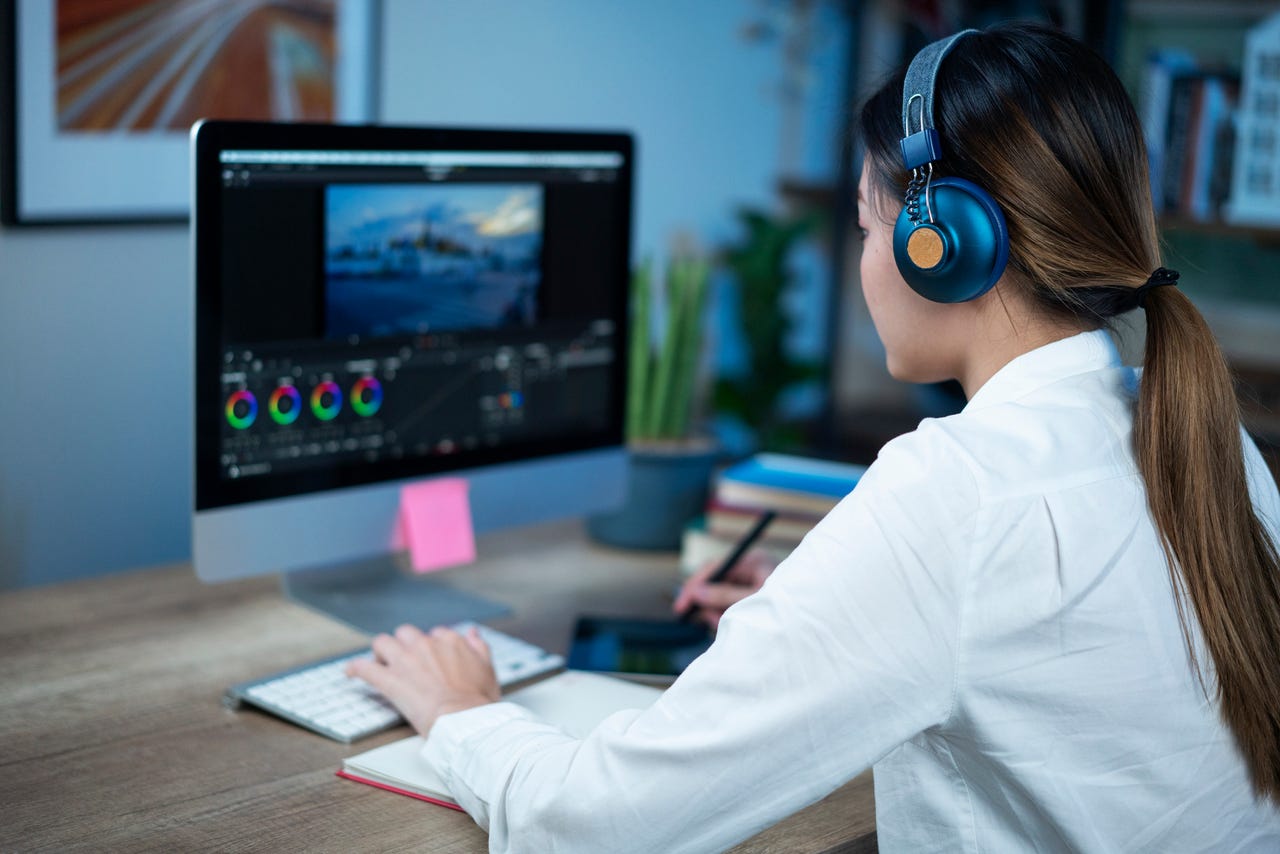


When I first started using Final Cut Pro years ago, I had no idea what I was getting into. Sure, it didn't take me long to learn how to piece together a video, but those early attempts had one big problem... color. Not only was the color inconsistent from video to video, but the look was far from professional. During those early days, I struggled with this and it took me quite some time to understand not only what I was doing wrong but also how to improve the look of my creations.
Also: The best laptops
If you're struggling to gain any consistency and quality in the color of the videos you produce with Final Cut Pro, let me help you out. My goal here is to make it simple. We're not looking to transform you into a professional video color artist, but rather empower you to create better-looking videos that you can upload to your YouTube channel or use for your business.
With that said, let's get to those methods.
This is the more challenging method to do but is fairly simple to understand. With Final Cut Pro, you can alter the color of your clips by manually changing various settings. This can be tedious but it's also the best way to get exactly the look you want, without having to spend a single penny.
With Final Cut Pro, you can make tiny or large adjustments to Tint and hue, as well as make changes to Color, Saturation, and Brightness for the Global color, Shadows, and Midtones. You can also alter the percentage mix for the Highlights. The key here is to play around with each value to learn how each change affects the clip. What I did was use a test clip and tweaked the colors until I understood what each change meant to the overall look. It shouldn't take you too much time and effort to get the hang of this. It can be a bit daunting at first, but eventually, you'll have a feel for it.
Also: How to use Photoshop: 5 basic steps to edit a photo
I find that it's important to take the time to get accustomed to making these manual adjustments because you might find another tool that makes colorizing even easier, but that doesn't mean the tool you adopt will get the color perfect every time. When that happens, you'll need to make minor adjustments manually.
This is where it gets serious. I'm going to simplify this, so you don't get bogged down in terminology or the science of it all.
LUT stands for Look Up Table and they make it very easy to change the look of your clips. LUTs use predetermined sets of mathematical formulas to make adjustments to gamma, contrast, saturation, luminance, and hue to alter the look. With LUTs you can achieve very dramatic effects without having to go through hours of manually altering the various values for color. Essentially, you load a clip into the timeline and double-click a LUT you've either added or is included by default, and the changes are automatically applied.
Also: The best laptops for graphic designers
Those changes can be anywhere from a romantic feel to an almost identical look of a certain film. You'll find people have created LUTs that resemble modern films and even older films. You can also create your own LUTs, but that's a very complicated process, so your best bet is to use your old pal Google and search for LUTs that can be used with Final Cut Pro. Some LUTs are free (such as from freshLUTs) and some have an associated price. My suggestion is to load up some free LUTs to see how they work. If you can't find a LUT that matches what you're looking for, you can always go the paid route or learn how to create your own.
You'll find a large number of add-ons (you can get them for free or for a price) that can change the look of your clips. You'll find add-ons for just about anything, including professional color grading plugins (such as Cinema Grade and Color Finale), plenty of different add-ons from MotionVFX that range from documentary and music video looks, and Dehancer (which can add film-like color grading and film effects). In fact, once you start searching, you'll find tons of add-ons that can do just about anything.
Here's my word of warning. This can be a costly rabbit hole you'll dive into. I would suggest you start with free add-ons (but only from reputable sources, such as MotionVFX) to find out what exactly you like and don't like. Once you've experienced what these add-ons can do, you'll probably find some paid software that can really bump your video color quality to the next level.
Also: These 3 AI tools made my two-minute how-to video way more fun and engaging
There you have it: Three ways to greatly improve the color of your Final Cut Pro clips. Which way you go will depend on how much time and money you want to invest, but I've found you can do quite a lot on a tight budget by manually editing the color and using free LUTs and add-ons.
 Etiquetas calientes:
tecnología