



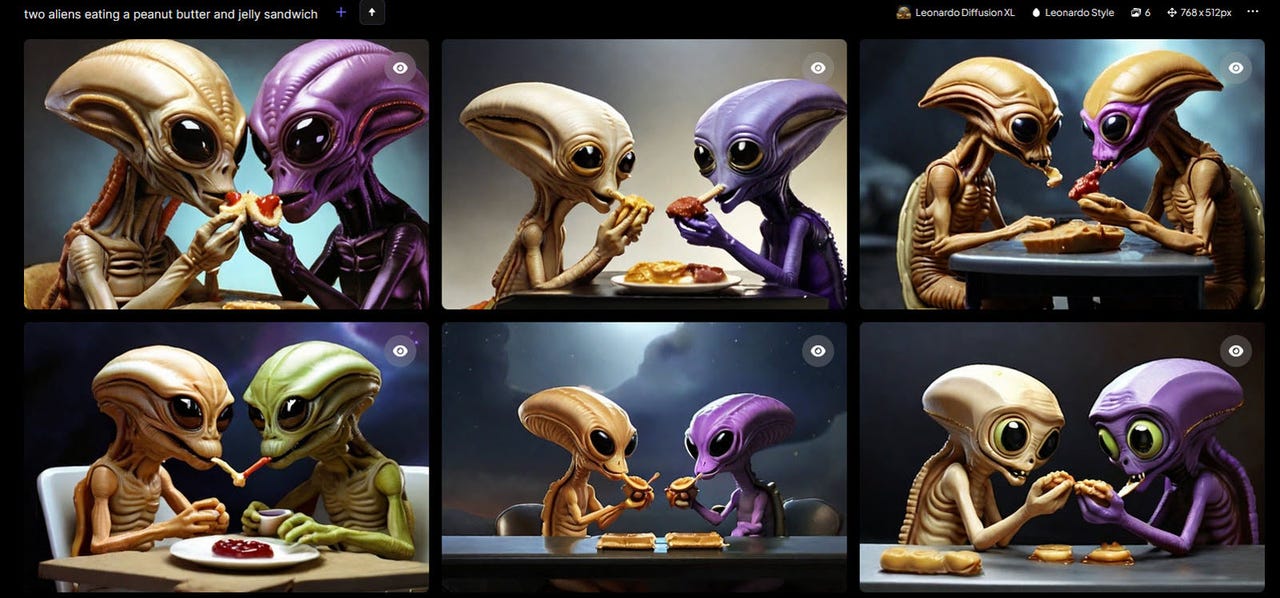
With all the buzz around generative AI, a variety of AI-driven image creators have cropped up this year. One tool you may want to try is Leonardo. Named after the celebrated Italian artist, Leonardo offers a host of options to help you generate the images you want.
Also: Thanks to my 5 favorite AI tools, I'm working smarter now
You can control the image size and dimensions, choose an image that's photorealistic, and specify the number of images you want. Select a specific image, and you're able to tweak it, refine it, copy it, and download it.
What you need: The basic version ofLeonardo is free but does impose daily tokens that get used up with each new prompt. Paid plans with more features and fewer restrictions start at$10 a month, but most people should be fine with the free flavor. Here's how to create images with Leonardo.
To start, browse to the Leonardo website and click the button to create an account. Choose whether you wish to sign in with your Apple account, Google account, Microsoft account, or an email account. Sign in with your new account.
At the home screen for Leonardo, click the entry for Image Generation on the left pane, the icon in the center, or the Create New Image button in the upper right.
To dive in right away, type a description of the image you want in the prompt at the top. Besides typing the description, you can specify a style of artwork. For example, you could write that you want an image of a giant grasshopper drinking a martini in the style of Renoir. Click the Generate button. Hovering over that button will tell you how many tokens this prompt will chew up if you're using the free version.
In response, Leonardo creates four different images for you to view and review.
Next, you can select a specific model. Click the drop-down menu for Leonardo Diffusion XL and change it to a different model. Some of the model names are self-descriptive, such as 3D Animation Style and Anime Pastel Dream. But you may need to try most of the other models to see what type of image is generated.
Also: How this simple ChatGPT prompt tweak can help refine your AI-generated content
Click the drop-down menu for style and you can switch between Leonardo style and None. You'll want to experiment with both options to see which works best. After setting your options, click the Generate button.
Click the drop-down menu for Add Elements to choose a specific element such as Coloring Book, Folk Art Illustration, Kids Illustration, Toon & Anime, or Vintage Christmas Illustration. You can select more than one element, however, Leonardo cautions that choosing more than two elements may have unexpected outcomes.
After selecting one or more elements, click Confirm to return to the previous screen. You can decrease the weight that a particular element factors into the image by moving the slider. When ready, click Generate to create the image.
In generative AI, a negative prompt is one in which you mention things that you don't want to see in the results. For example, maybe you're requesting the image of a grasshopper drinking a martini but you don't want it to have wings.
Also: One in four workers fears being considered 'lazy' if they use AI tools
To set this up, turn on the switch for Add Negative Prompt. In this case, type the wordwingsin the negative prompt and then click Generate.
Next, you can control how many images are included in the results. At the top of the left pane, click the number to indicate how many images you want and then click Generate.
Turn on the switch for PhotoReal to generate photorealistic images. You can then set the Depth of Field to High, Medium, or Low and enable RAW mode to create a more detailed and larger image.
Skip down to Input Dimensions and click the number for the dimensions you want to apply to the generated images. Alternatively, go to Advanced Controls. Click the drop-down menu for Aspect Ratio and choose a specific rate, such as 4:3 or 16:9. You can also move the sliders for Height and Width to manually set the dimensions.
Once you like the batch of generated images, click a specific one that you want to use. The image screen offers you a few options.
Also: How to use Bing Image Creator (and why it's better than ever)
Click the Unzoom Image button to zoom out on the image, the Remove Background button to eliminate the entire background, and the Alchemy Smooth Upscale or Alchemy Crisp Upscale to increase the resolution of the image. You can then switch between the image with your changes and the original version.
Click the Copy to Clipboard button to copy the image and paste it elsewhere. Click the Download Image button to download it to your computer.
 Etiquetas calientes:
Inteligencia Artificial