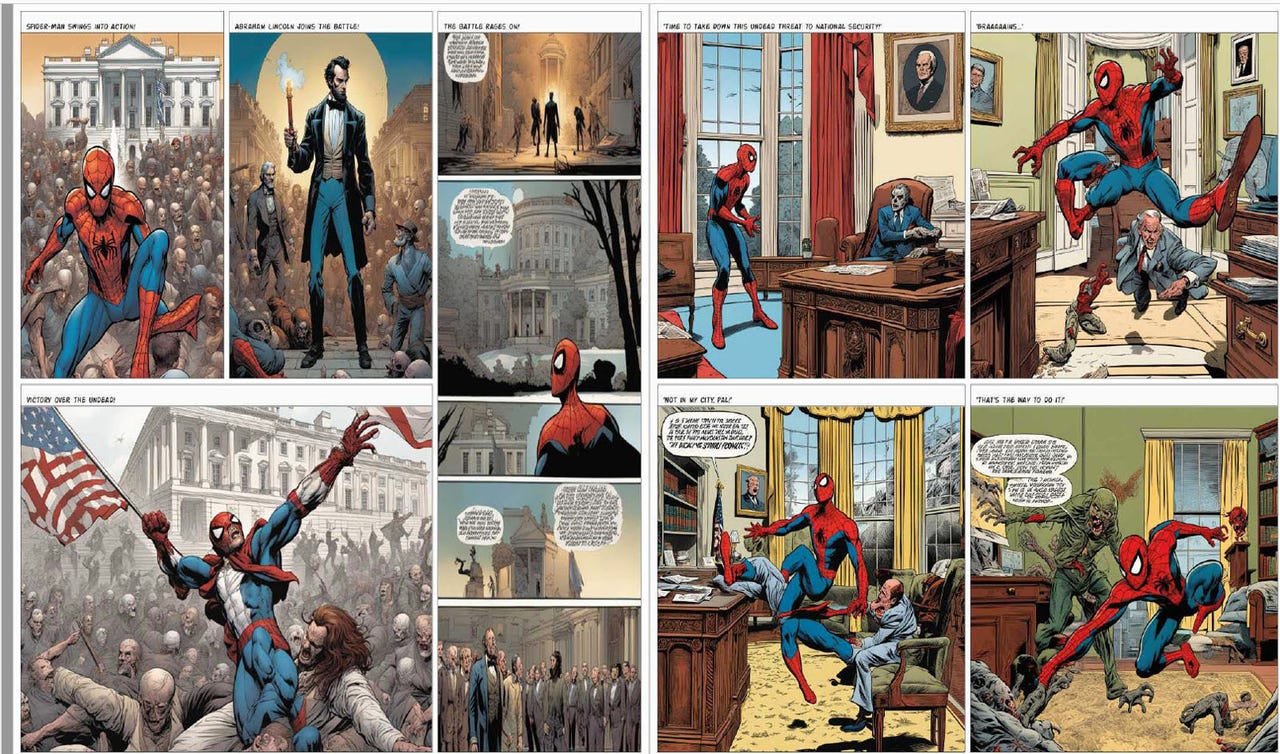


 Screenshot by Lance Whitney/
 You've dreamed of becoming a comic book artist but you lack one important skill, namely the ability to draw. Well, now AI can fulfill those dreams for you. Available as a space through Hugging Factory, the AI Comic Factory will design comic book pages for you based on your descriptions.
Also: We're not ready for the impact of generative AI on elections
Describe the scenario you envision, choose a style, and then select a layout. You can even opt to add captions. In response, the AI will create the necessary panels to form an entire page. You can then produce one page after another and save or print each page. Here's how it works.
Fire up your favorite browser and head to the AI Comic Factory page. First, type a description of the scene and story you want to create. Think of the characters you'd like to appear in your story, whether that be people, animals, creatures, superheroes, or aliens. Then, come up with a scenario to describe their actions, such as fighting, eating, or dancing. You can also describe the location of the scene and have it take place in a restaurant, on top of a building, or even in outer space.
Also: How to use DALL-E 2 to turn your ideas into AI-generated art
Furthermore, your description will likely vary depending on how many pages your comic book will contain. If you're generating just one page, you'll want to include all the elements in your description. If you're planning a multipage comic, describe the opening scene for the first page and then build upon it with subsequent pages.
Enter a description of the scene and story.
Screenshot by Lance Whitney/Next, choose the style. On the left, click the dropdown menu, which uses American (modern) as the default style. You can change the style to Japanese, Flying saucer, Humanoid, 3D, Medieval, and Egyptian, among others. Each style offers a unique look and aesthetic, so you might want to play around with different ones to see which will work best for your story.
Choose the style.
Screenshot by Lance Whitney/Next, click the dropdown menu for Layout. Here, the site offers four unique layouts, each with a different number of panels of varying sizes. Experiment with each layout to see which one you like best. If you're creating multiple pages, you should also vary the layout from page to page.
Choose the layout.
Screenshot by Lance Whitney/Next, you can choose to add captions that appear at the top of each panel. The captions serve to describe or define the scene taking place and can add to the flow and readability of each panel.
Also: How to use Stable Doodle AI to transform your doodles into artwork
By default, the AI may also add dialogue balloons in certain panels, though you have no control over this. The dialogue consists of just gibberish text, so it's more of a visual element to make the pages seem like they're from a real comic book.
Opt for captions.
Screenshot by Lance Whitney/When you're ready, click the Go button at the far right. You may need to wait a minute or two for all the panels to appear. You'll eventually see the entire page with all the panels in the layout you chose. Use the slider on the right if you wish to zoom in and out.
Generate the page.
Screenshot by Lance Whitney/If you're happy with the page and layout, great. If not, take this opportunity to change any of the elements, such as the style or layout. If necessary, click the Go button after you've made your changes to regenerate the page.
Change the page.
Screenshot by Lance Whitney/Click the Print button at the bottom to view a preview of the printed page. Set any specific options for your printer, such as two-sided printing. Then, print your page.
Print the page.
Screenshot by Lance Whitney/Click the Save button to save your page as a JPG file. You can then open the file in any image editing software if you want to modify it.
Also: How to get a perfect face swap using Midjourney AI
Here, you can also replace any gibberish text in a dialogue balloon with real text if you'd like your characters to speak within the context of the story.
Save the page.
Screenshot by Lance Whitney/If you plan to create a multipage comic book, continue with the second page. Create the description using the same characters if you wish, but alter the scenario to move the story along. You'll probably want to keep the style the same but switch the layout to vary the look of it.
Continue with your comic book.
Screenshot by Lance Whitney/When you're done, you can print all the pages and put them together to fashion your own printed comic.
To create a digital version instead, save each page as a JPG file. Then, convert each JPG to a PDF file using Adobe's free online conversion tool. Alternatively, click the Print button on the AI Comic Factory page, choose the destination, and then select the option for Save to PDF. You can then use another free tool from Adobe to merge each individual PDF into one large file.
Create your comic book.
Screenshot by Lance Whitney/Disclaimer: Using AI-generated images could lead to copyright violations, so people should be cautious if they're using the images for commercial purposes.
 Etiquetas calientes:
Nuestro proceso
Inteligencia Artificial
innovación