Regístrese ahora para una mejor cotización personalizada!


 Maria Diaz
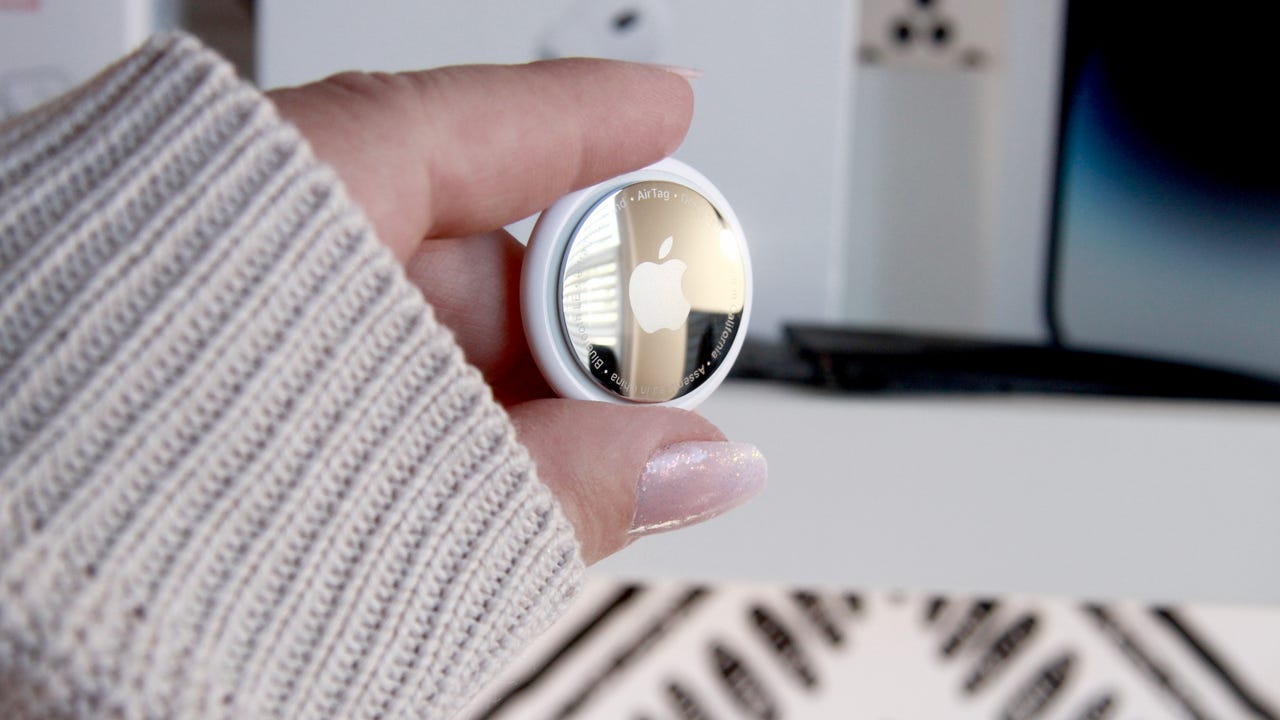
 Apple AirTags are great. They help keep me from basically losing all my important stuff. Keys, wallet, bags, and even my bike all have an AirTag fitted.
Also: Apple and Google team up to put an end to AirTag stalking
While the technology is great, I feel that the design, while iconic, is far from user-friendly when it comes to certain applications. One such application is wallet tracking. Little adapters and pouches exist to attach an AirTag to a wallet, but they all add needless bulk to the wallet.
I mean, an AirTag is quite thick -- 7.86 mm or 0.32 inches.
AirTags are quite thick!
Adrian Kingsley-Hughes/It would be great if we could take an AirTag and put it in a smaller package.
Well, we can.
Also: The best AirTag accessories right now
Soon after Apple released the AirTags, I picked up a modified AirTag from Etsy. The innards had been removed and the tag placed into a 3D-printed shell.
It cost me more than double the price of an AirTag, and while I had concerns about the reliability and robustness of it, this thing has lived in my wallet for well over a year and is going strong.
The custom-modified "wallet" AirTag I purchased from Etsy over a year ago
Adrian Kingsley-Hughes/Why Apple hasn't done something like this, I have no idea.
Then the other day I was challenged to make something similar.
Also: How to find out if an AirTag is tracking you
Well, what did I have to lose? An AirTag I suppose, if I broke it in the process of making it thinner.
I'm afraid that this is one of those projects where you're going to need a lot of gear -- 3D printer, soldering iron, a hot air gun, and a bunch of other random tools.
It's not a "budget" project. You're also going to need a couple of bits of thin wire (I used the wires holding the battery box on an old device). I'm using red and black wire here to clarify, but it can be any color.
Also: 7 ways AirTags can simplify your life (beyond tracking keys)
The wire needs to be thin enough to fit into the channels in the 3D-printed case.
You're also going to need the know how to solder, have basic electronic skills, and have patience.
Some of the tools and materials I'll need for this job
Adrian Kingsley-Hughes/And if you mangle the AirTag, that's$30 straight into the bin!
Can I modify this AirTag without destroying it?
Adrian Kingsley-Hughes/Here are some of the tools I used during this project:
The first thing I did was see if someone had done a 3D model for printing. I found several over on Thingiverse and I picked this one. I have no idea if this is the best; it just looked good to me.
Next, I had to get the circuit board out of the AirTag. To do this, I started by removing the battery (keep the battery safe because you'll need it).
Removing the battery from the AirTag
Adrian Kingsley-Hughes/This is the easy bit! Things get harder from here on in.
I used a precision screwdriver, and carefully split the grey plastic from the white plastic at the spot shown in the image below.
Pry here
Adrian Kingsley-Hughes/Like this
Adrian Kingsley-Hughes/Take your time, and eventually you'll get the grey plastic ring off.
Grey plastic ring removed exposing ther AirTag's circuit board
Adrian Kingsley-Hughes/You're not done, and things are about to get a lot trickier!
In the center is the speaker, held in place with adhesive. Carefully scrape away the adhesive and pry out the speaker.
Very carefully!
Prying out the AirTag's speaker
Adrian Kingsley-Hughes/Underneath is a coil of wire that activates the speaker. This is incredibly thin wire, and if you damage the coil or connecting wire, then the speaker won't work (but the AirTag itself will still work, it just won't make a sound).
To make life hard, the coil is stuck to the plastic shell.
I freed the circuit board and coil using a combination of snips to nibble at the plastic shell of the AirTag, and heat from a hot air gun to soften the adhesive holding the coil in place.
Nibbling away at the plastic of the AirTag with snips
Adrian Kingsley-Hughes/Using a hot air gun to soften the adhesive holding the coil in place
Adrian Kingsley-Hughes/Take your time, as this is super delicate work! Gently pry the coil to free it and the circuit board.
Success!
Adrian Kingsley-Hughes/Around the circuit board are blobs of adhesive that you need to remove so the circuit board will fit into the case.
Do this gently! The adhesive is brittle and comes away easily.
Removing the adhesive from around the AirTag's circuit board
Adrian Kingsley-Hughes/OK, with the circuit board out, it's time to test fit the parts in the 3D printed case. Mine worked surprisingly well, and didn't need any modifications whatsoever.
Test fitting the AirTag's circuit board and battery in the 3D printed case -- take care not the break the speaker coil!
Adrian Kingsley-Hughes/Time to do some soldering!
Three power wires need to be soldered.
I'm soldering a black one that will go to the negative side, or bottom, of the battery, a red one that will go to the positive side, or top, of the battery, and a small bridge wire from where the red wire is soldered to the opposite battery terminal.
Here's a diagram.
Diagram of how to solder the wires to the AirTag's circuit board
Adrian Kingsley-Hughes/Here's what it looks like (I've used quite thick wire here to make is stand out a bit better).
Wires soldered to the Airtag circuit board
Adrian Kingsley-Hughes/Note:If you want to test that the AirTag still works after taking it apart, strip the ends of the wires and press the red wire to the top of the battery, black to the bottom, and bring your iPhone nearby -- it should try to connect!
It works!
Adrian Kingsley-Hughes/If it doesnt work, check you've soldered the wires properly. If this doesn't fix it, there's a chance you've destroyed the AirTag.
Now to the fiddly bit. While being careful to not break the wires holding that coil in place, trim the wires you soldered to the circuit board.
Triming the wires
Adrian Kingsley-Hughes/Remember, the exposed end of the red wire needs to touch the top, or positive, side of the battery, and the exposed bit of the black wire touch the bottom, or negative, side. This may take some fiddling, and I found it useful to usekapton mylar tape to hold the wires in place.
Remember, as soon as you connect the wires, the tag will wake up!
Kapton mylar tape -- very thin and insulating
Adrian Kingsley-Hughes/Time to bring the two halves of the 3D-printed case together. I then glued it together using superglue.
Also: You're using super glue all wrong
The adhesive makes this waterproof, but it does mean it'll need a new case when the battery needs changing. By then I hope to have streamlined the process a bit and improved on the design of the 3D-printed case.
Final assembly and gluing
Adrian Kingsley-Hughes/And we're done!
Finished!
Adrian Kingsley-Hughes/A lot thinner!
We've knocked the thickness of the AirTag down to 4.61 mm or 0.18 inch, from 7.86 mm or 0.32 inches.
This is the same height and width as a credir or debit card, and the thickness of a few cards.
Pleased with the reduction in thickness of the AirTag
Adrian Kingsley-Hughes/The owner reports that it's working great and holding up well living in a rigid wallet for the past few weeks.
The project was a success.
I'll be the first to admit that it's fiddly, and I can see room for modification here, and it's probably cheaper and less hassle to source one, but it's a cool project and test of your skills. If you want a bit of a challenge, this conversion will give you that, for sure!
 Etiquetas calientes:
Los teléfonos inteligentes
Accesorios móviles
Etiquetas calientes:
Los teléfonos inteligentes
Accesorios móviles
Regístrepor correo electrónico ahora para acciones semanales de promoción
100% free, Unsubscribe any time!
Add 1: Room 605 6/F FA YUEN Commercial Building, 75-77 FA YUEN Street, Mongkok KL, HongKong Add 2: Room 405, Building E, MeiDu Building, Gong Shu District, Hangzhou City, Zhejiang Province, China
Whatsapp/Tel: +8618057156223 Tel: 0086 571 86729517 Tel en Hong Kong: 00852 66181601
Correo electrónico: [email protected]
 English
 Pусский
 Français
 Español
 Português