

 Amazon
 ChromeOS has a lot of really nifty tricks hidden within the OS. One such trick is a virtual keyboard. You might be wondering why a virtual keyboard would even be necessary, especially given your Chromebook already has a handy physical keyboard available.
These Chromebook laptops feature low prices and long battery lives.
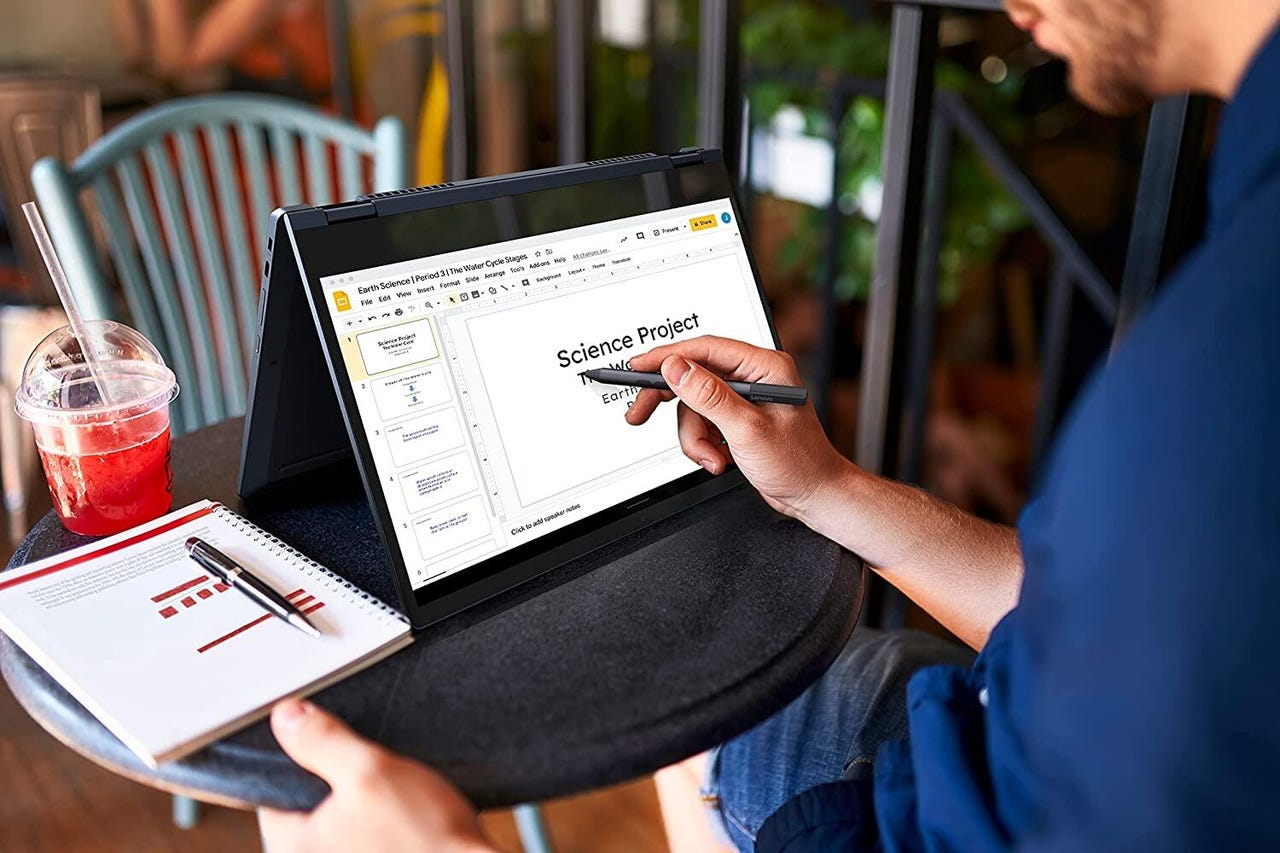
Read nowConsider this: If your Chromebook can be used in tablet mode, you flip that screen over and all of a sudden that physical keyboard isn't exactly handy. What do you do? You use the virtual keyboard.
However, the virtual keyboard isn't enabled by default. So, before you can use it, you have to enable it.
Let me show you how to not only enable the physical keyboard but also make it flat so it doesn't take up as much screen space and you can move it to wherever you need.
Also: 5 reasons a Chromebook is the perfect laptop for most users
I'll be demonstrating on ChromeOS 106.0.5239.0, but this should work on older instances of the operating system.
The first thing to be done is to open the Settings app. Click the system tray (where the time lives) and click the gear icon to open the Settings app.
In the left pane of the Settings app (Figure 1), click Advanced to expand the entry.
Figure 1: The ChromeOS Settings app is where you take care of most of the settings.
Image: JackWallenWith Advanced expanded, click Accessibility and then click "Manage accessibility features" (Figure 2).
Figure 2: The Accessibility section of the ChromeOS Settings app.
Image: Jack WallenScroll down until you see "On-screen keyboard" (Figure 3).
Figure 3: Enabling the onscreen keyboard in ChromeOS.
Image: Jack WallenClick the on-off slider until it's in the on position and then close out the Settings app.
With the Virtual Keyboard enabled, you should now see a keyboard icon on your shelf. Click that icon to open the virtual keyboard (Figure 4).
Figure 4: The Virtual Keyboard is open and ready to be used.
Image: Jack WallenAs you can see, the virtual keyboard takes up a lot of space, so much so that it could make using the Chrome web browser a bit challenging. What do you do? You can enable the floating keyboard, which is not only smaller but can also float on the screen to wherever you need it.
To float the keyboard, click the right-pointing arrow in the top left corner and then click the small square near the center (Figure 5).
Figure 5: Enabling the floating keyboard with a single click.
Image: Jack WallenOnce the keyboard is floating (Figure 6), you can resize it by clicking and dragging one of the blue corner handles and dragging it around by clicking the bottom handle (circle with the four arrows).
Figure 6: The ChromeOS floating keyboard has been enabled and takes up much less screen space.
Image: Jack WallenAnd that's all there is to enabling and using the ChromeOS Virtual Keyboard. For those with a two-in-one Chromebook, this will be a great tool to use when the physical keyboard has been tucked out of the way.
 Etiquetas calientes: