

 Samsung
 Your internet service provider's DNS might work OK, but if you're looking for more speed and security, it's not the best choice. No matter what ISP I use, I never fail to change the DNS on every machine I use. Why? Most service providers offer a slower and less secure DNS. For example. I've yet to find an ISP that uses Secure DNS, which allows me to browse the internet with considerably more privacy and security. Secure DNS achieves this by encrypting all of my searches, so they aren't readable by anyone who might be snooping on my data packets.
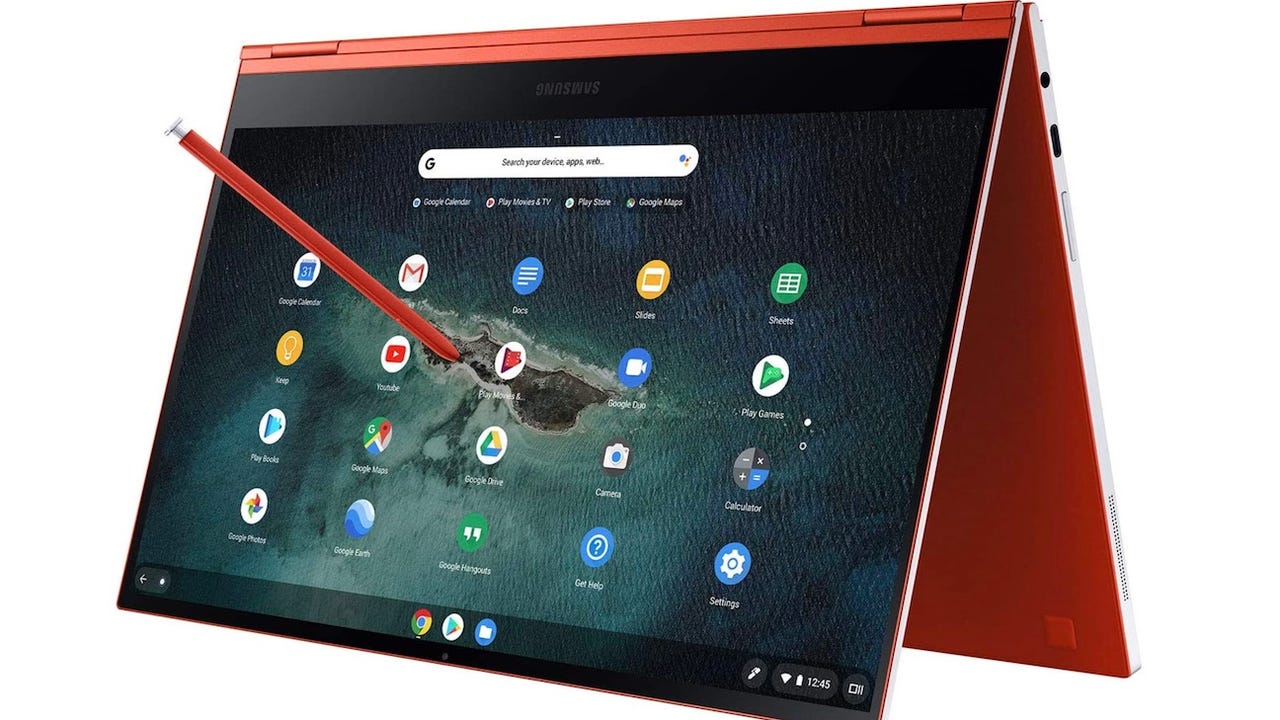
Also: The best Chromebooks you can buy, starting at$312
On top of that, I've always found third-party DNS providers to be much faster than the common ISP DNS servers.
You might think that configuring a specific DNS server on your Chromebook would be a task beyond your skills. Believe it or not, you can do it -- and I'm going to show you how.
What you'll need:The only thing you'll need for this is a Chromebook with an updated version of Chrome OS. Make sure to always keep your operating system up-to-date, so you always have the latest features and (more importantly) the latest security and bug fixes.
Log into your Chromebook and open Settings by clicking the system tray (bottom right corner of the screen) and clicking the gear icon. In the Settings window, click Network and then select the wireless network you are connected to.
Make sure to select the wireless network you are using.
Screenshot by Jack WallenAlso: How to connect to a network share from your Chromebook
On the resulting page, click Network and then click the On/Off slider for Configure IP Address Automatically until it's in the Off position.
By default, Chrome OS uses DHCP to acquire IP addresses. To use a specific DNS server, you must opt for a manual setup.
Screenshot by Jack WallenLeave everything as is, except for the Name Servers option. Instead of using the default, you can either opt for the Google Name Servers (which are 8.8.8.8 and 8.8.4.4) or click Custom Name Servers and enter a primary and secondary name server address (such as Cloudflare's 1.1.1.1 and 1.0.0.1). I prefer using Clouflare's name servers as I find them faster and more secure than either the default or Google options.
I always opt to go with Cloudlare's DNS servers for faster speeds and better security.
Screenshot by Jack WallenAlso: 5 reasons why Chromebooks are the perfect laptop for most people
Once you've configured the name servers, you're done. You can close Settings and enjoy faster, more secure searches on your Chromebook.
And that's all you need to do to give your Chromebook a speed and security boost to your web browser and the queries it sends out.
 Etiquetas calientes:
Casa y oficina
Red de redes